Progress March 2026

Final Week
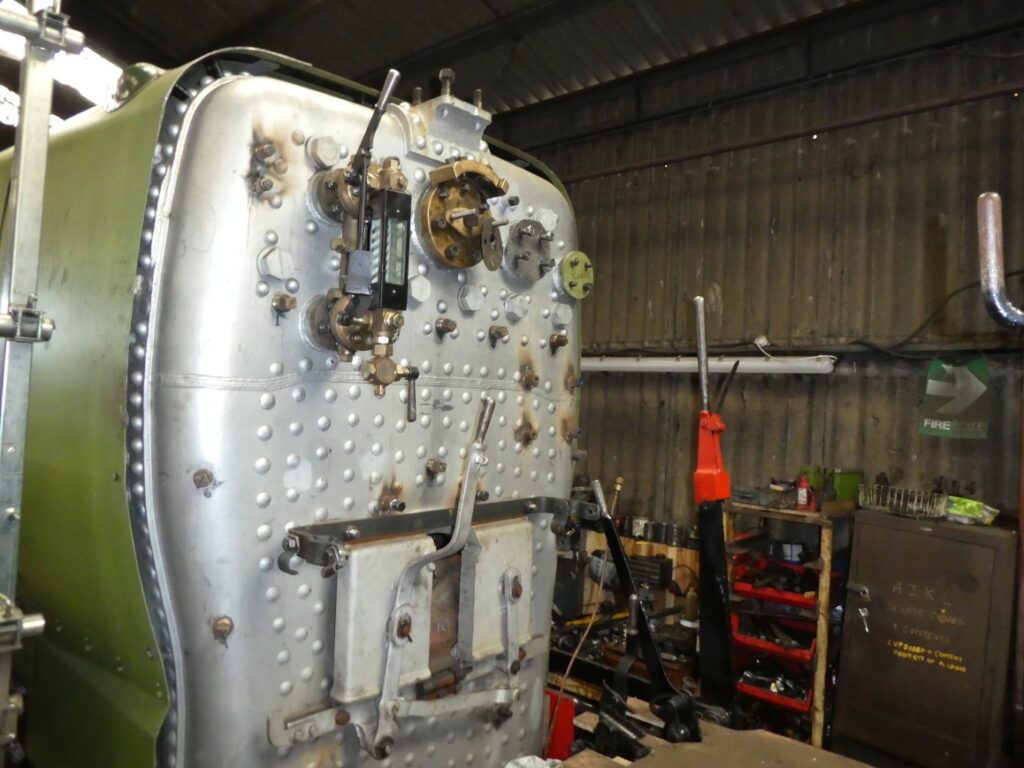
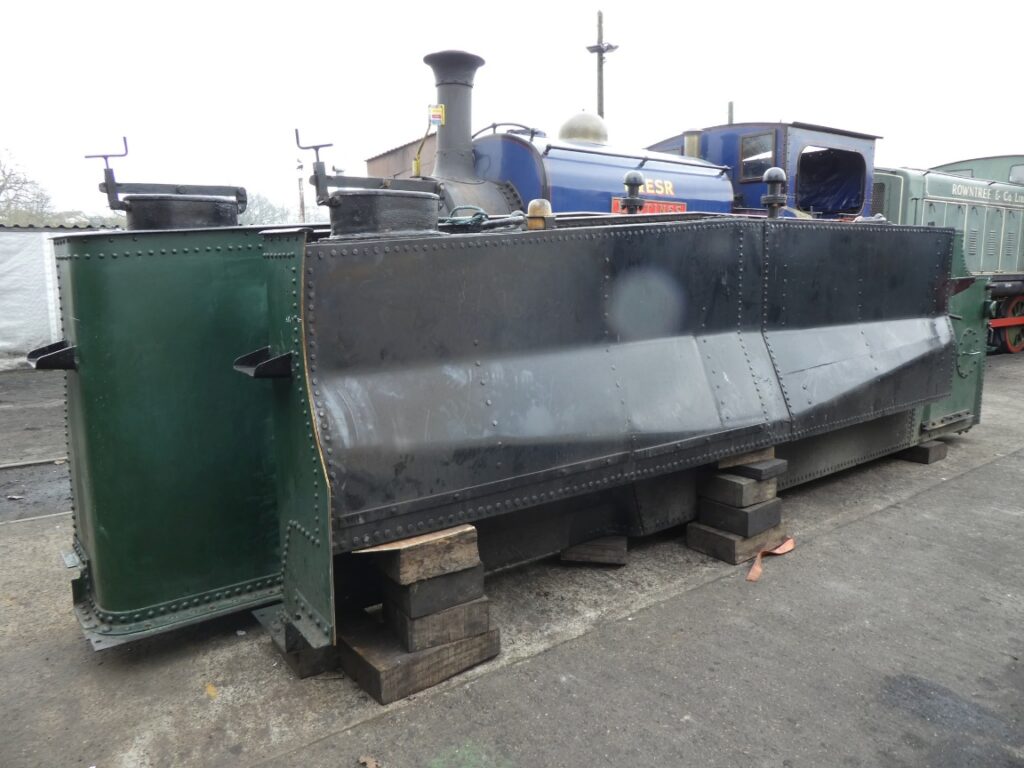
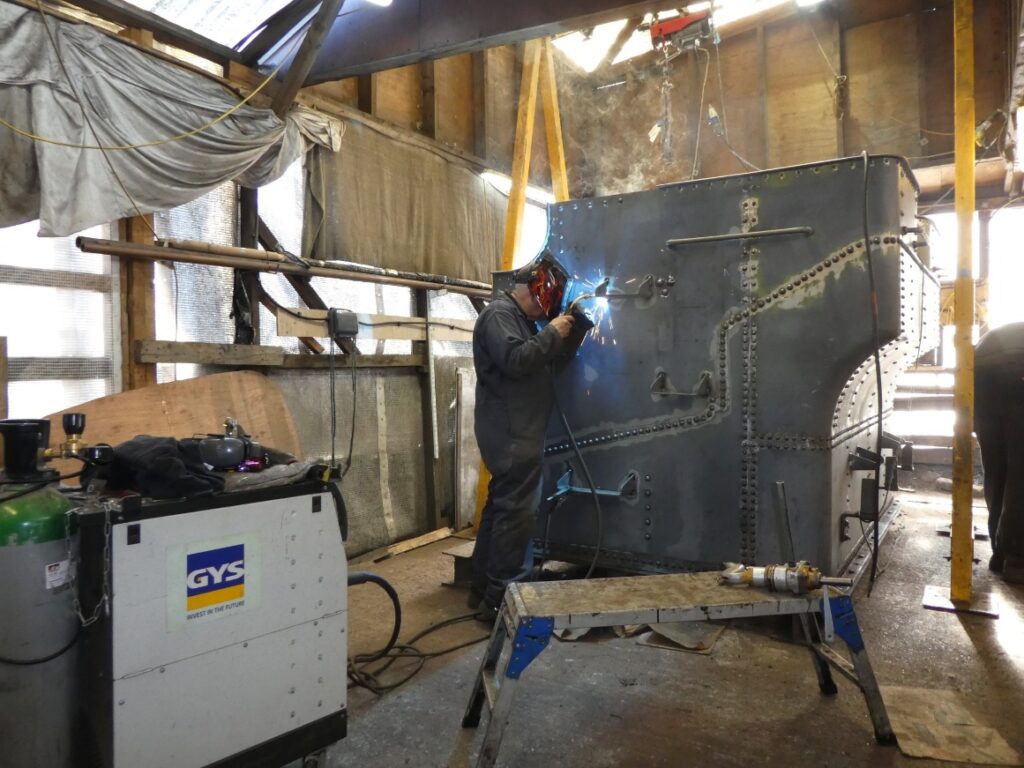
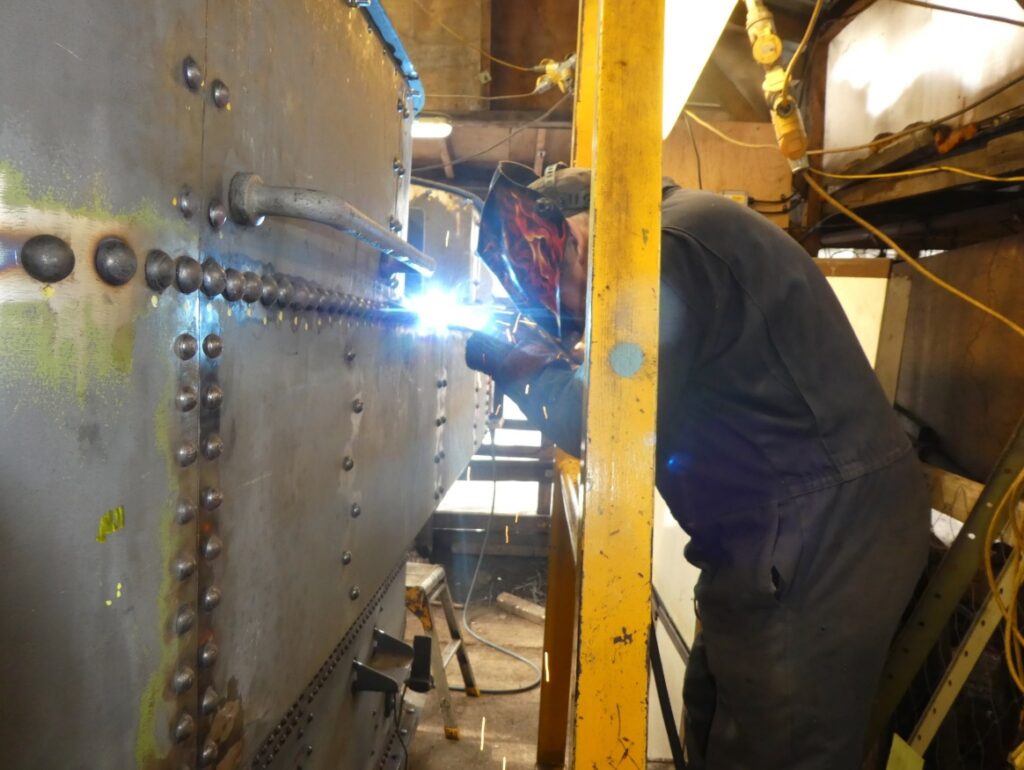
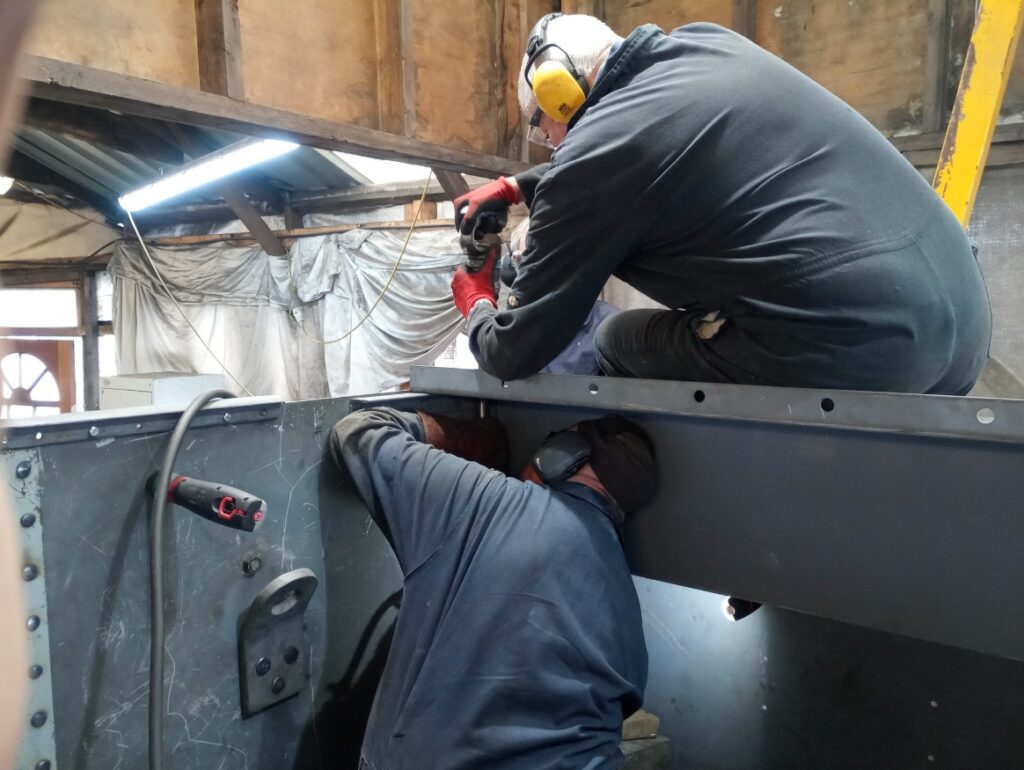
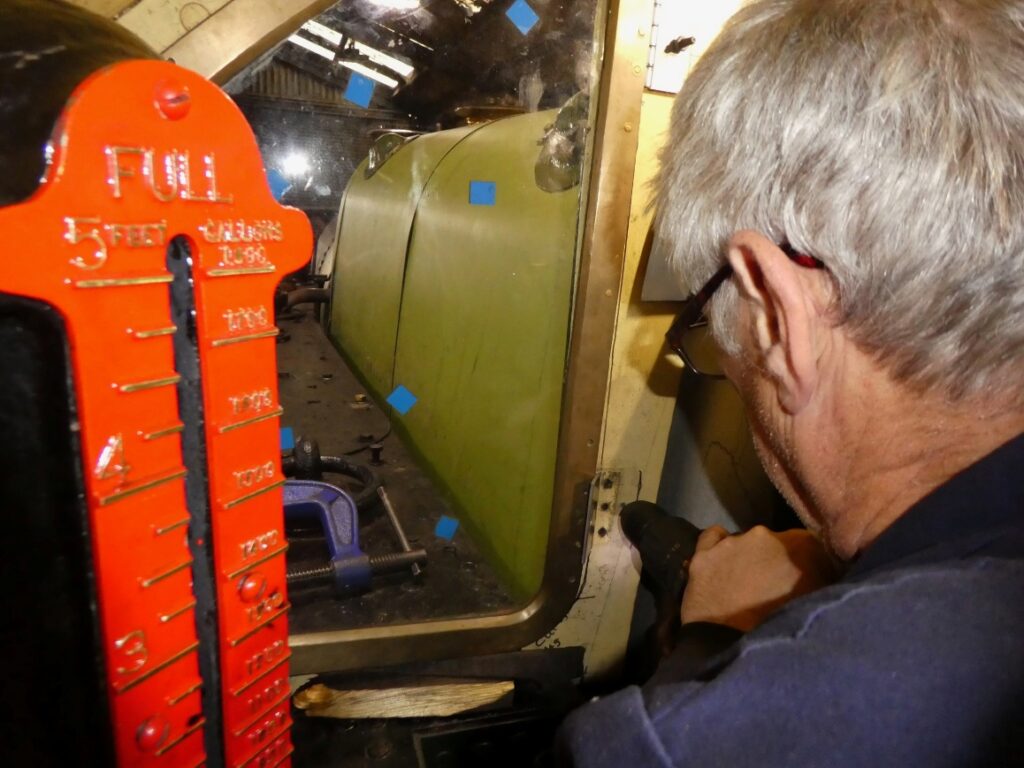
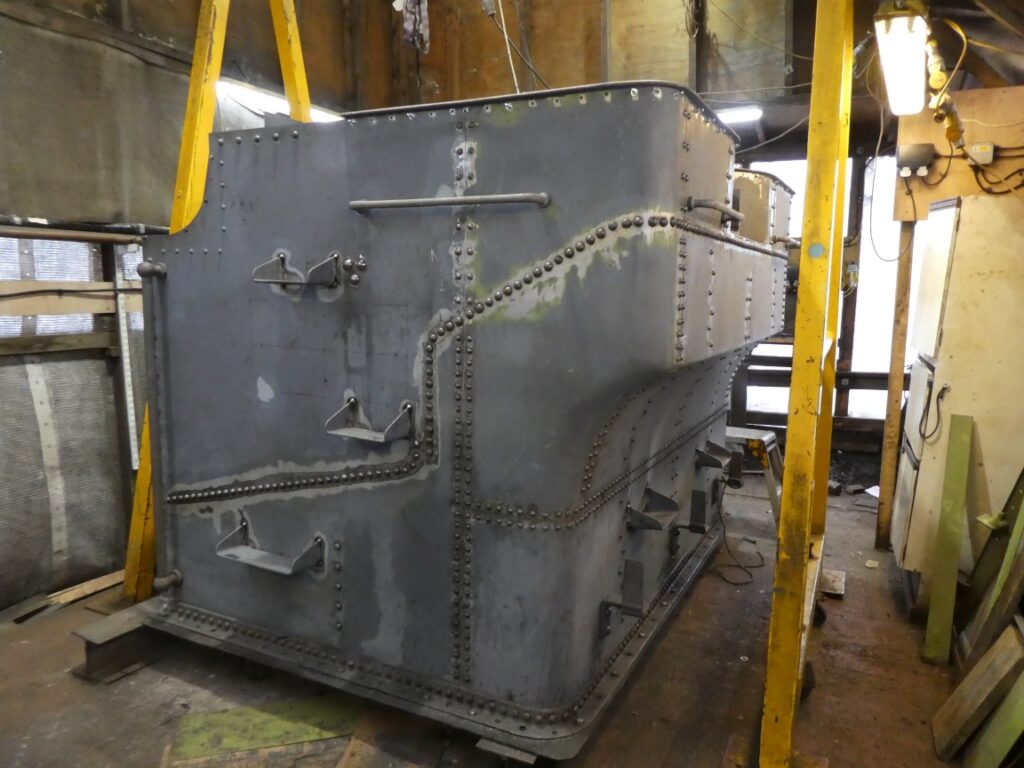
Main task this week was removing the tanks from 4253 so we can get on with making the ‘elephant’s ears’ cladding between the boiler barrel and the front of the firebox. After most of the backhead fittings, pipework and cladding had been removed,
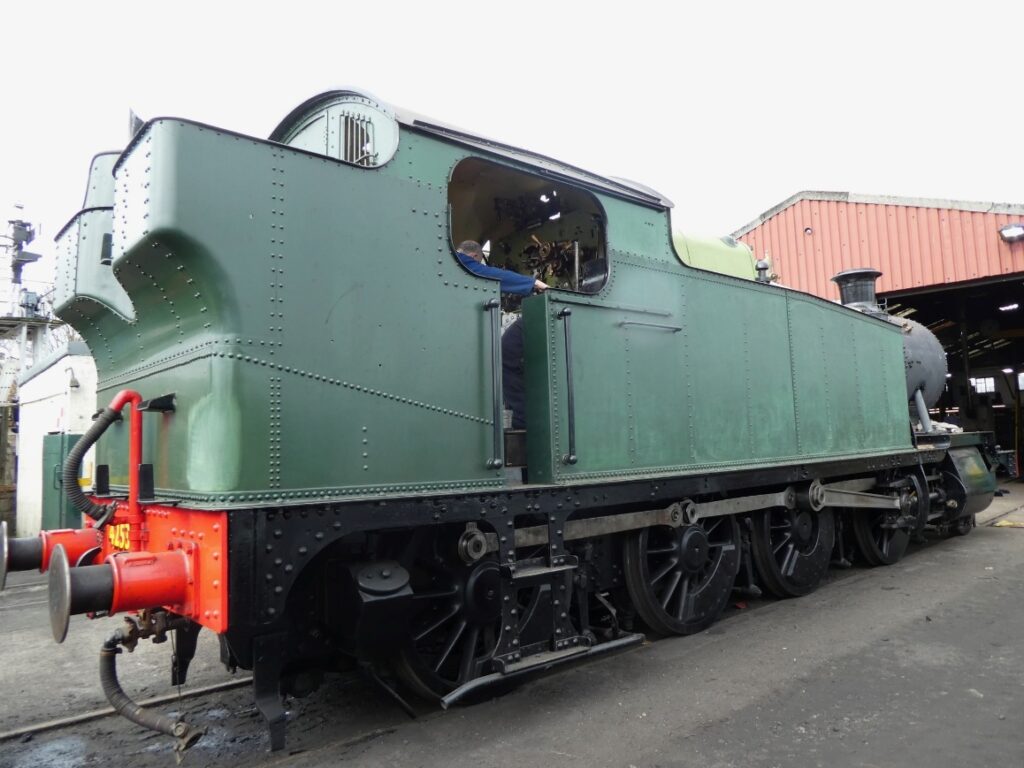
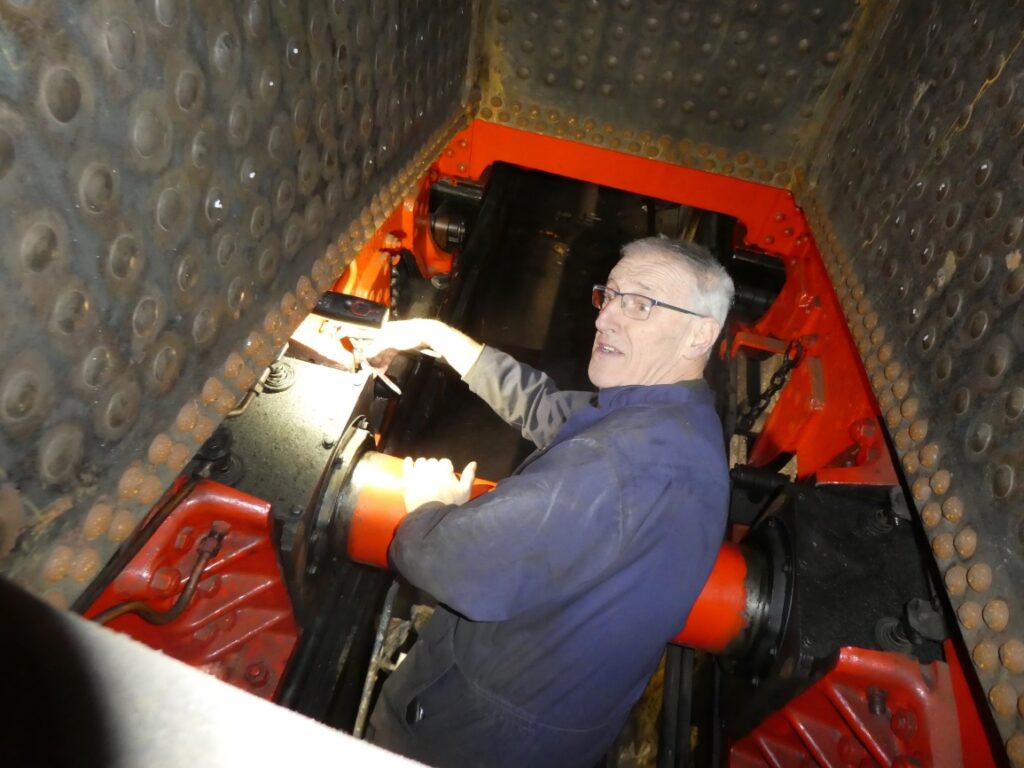
the loco was pulled out into the yard,
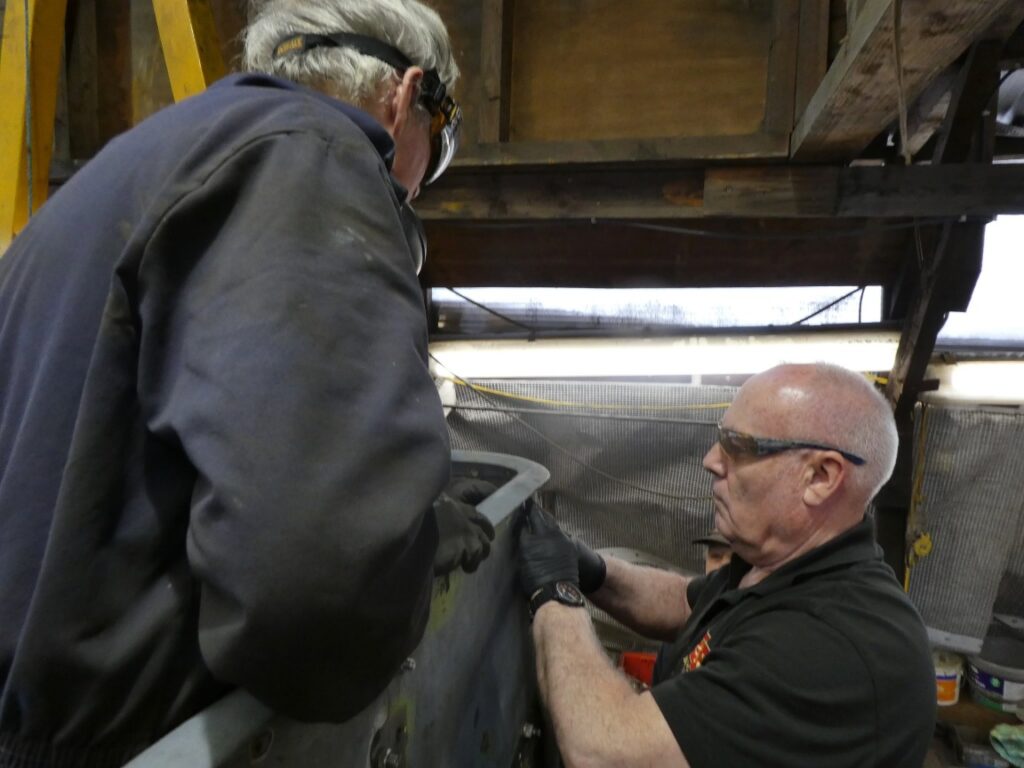
the cab was lifted off,
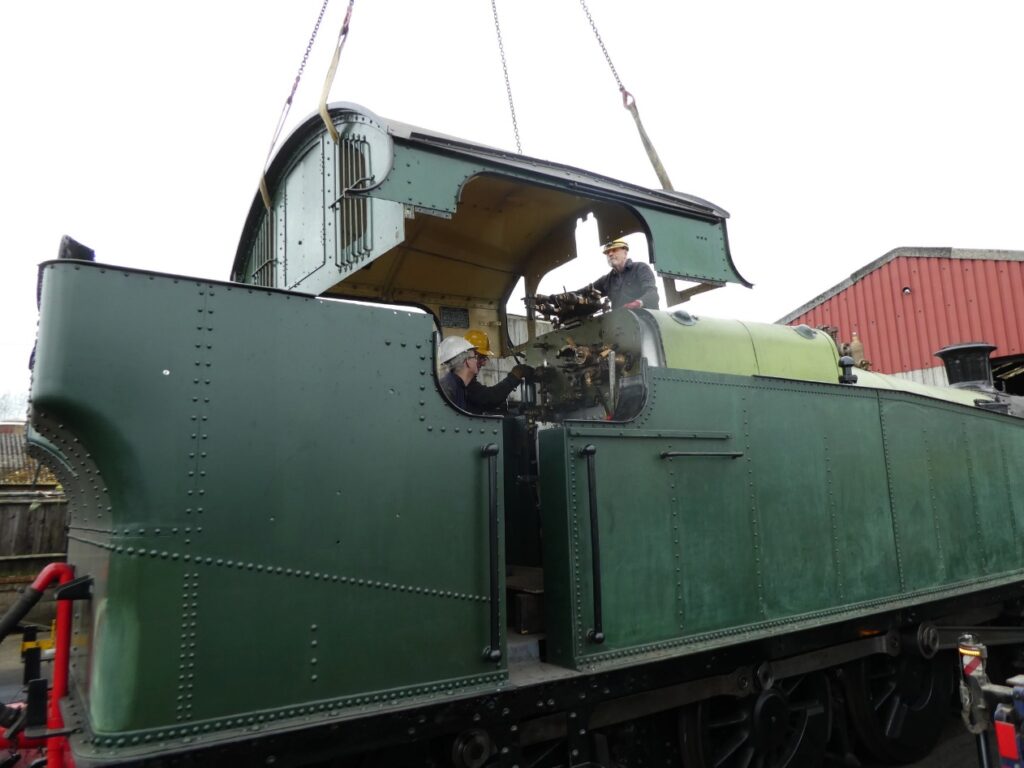
followed by the tanks
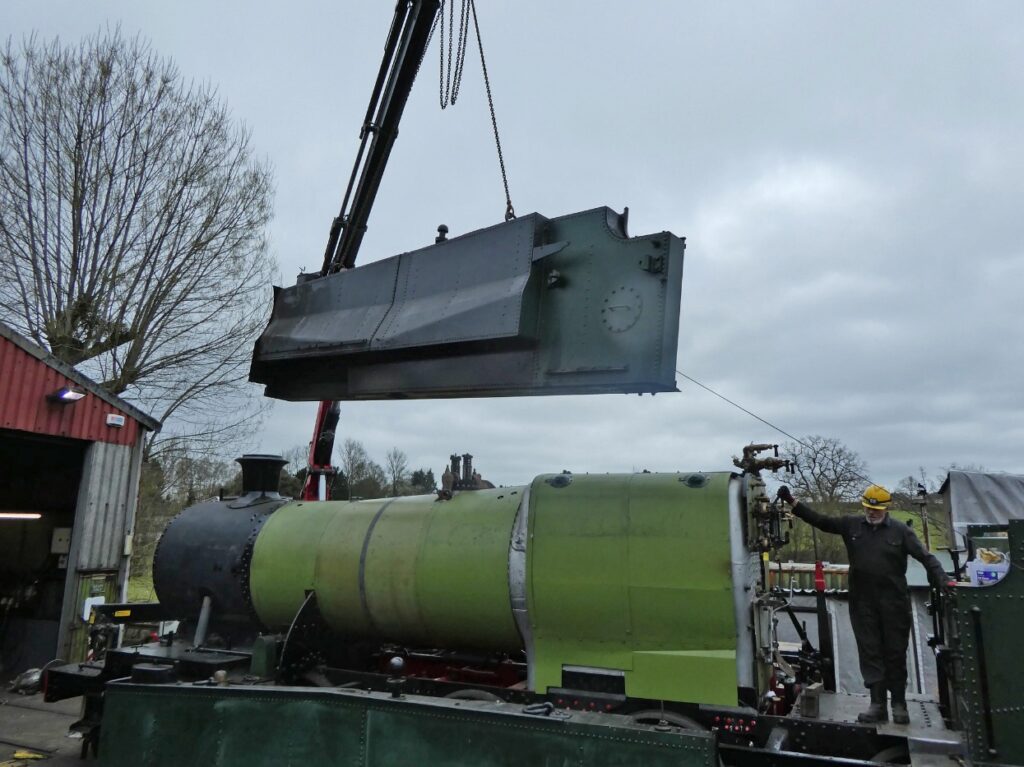
which were placed on the ground back-to-back so we can access the inner sides.
It was then shunted back into the shed
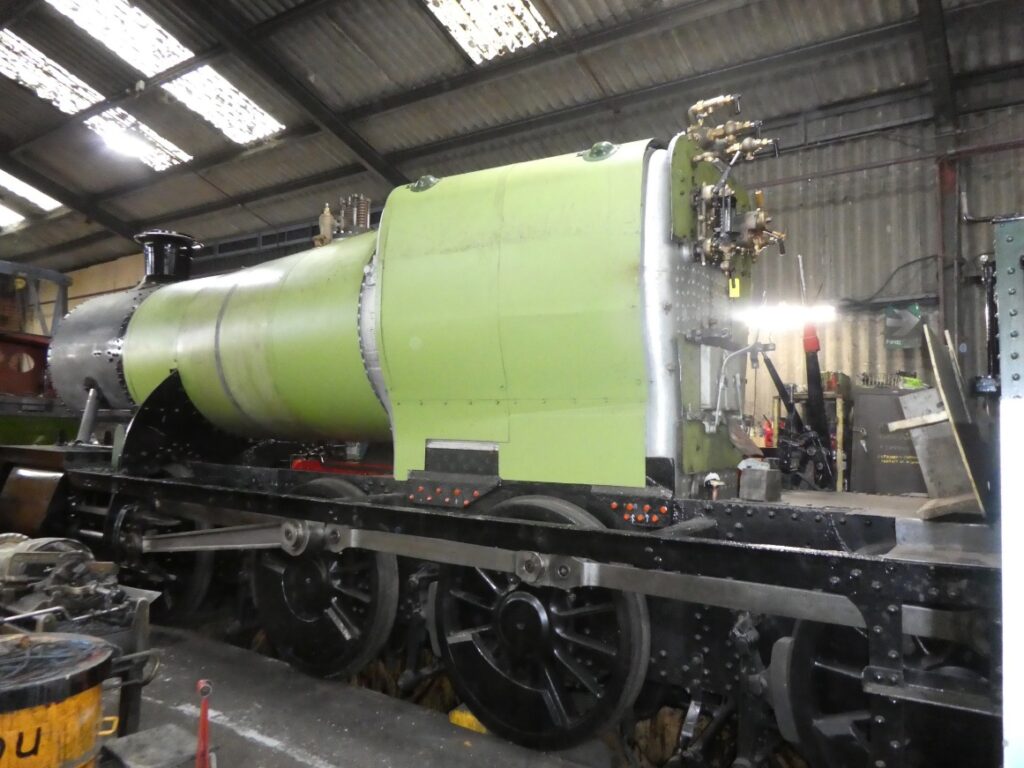
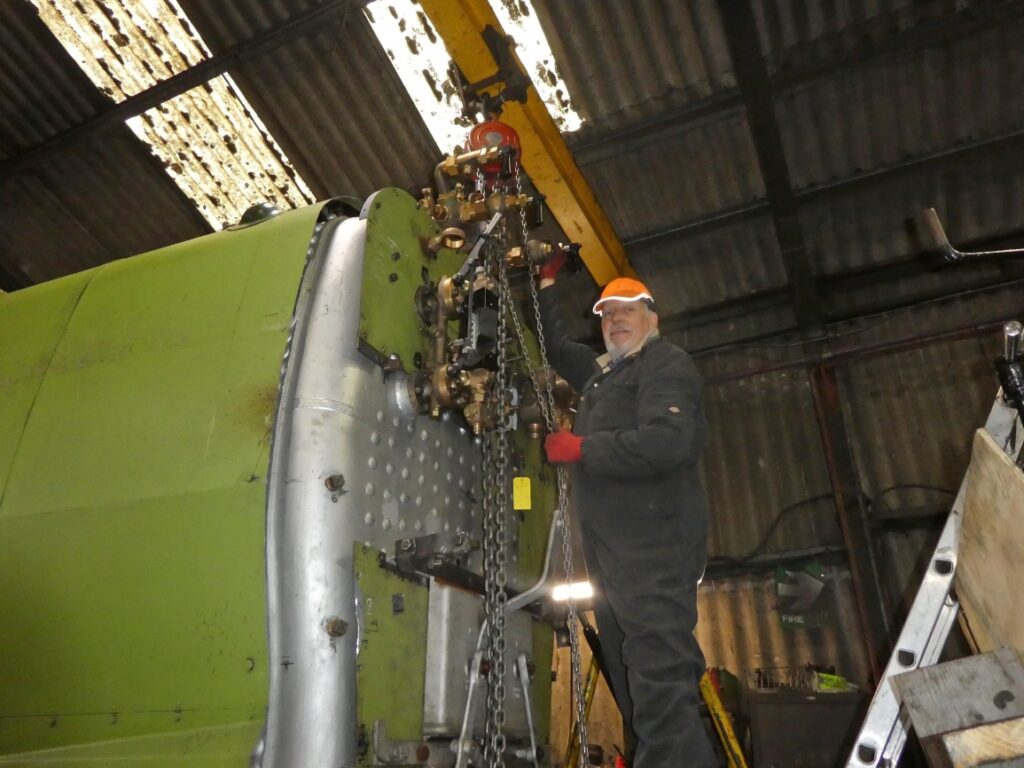
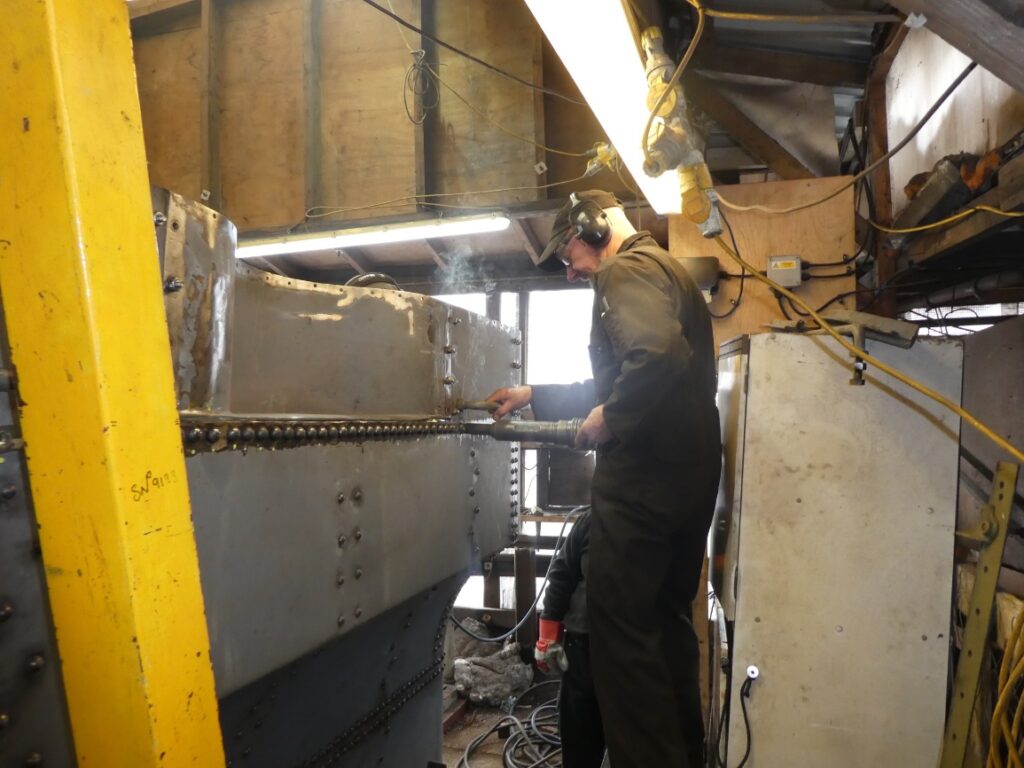
after which the manifold was lifted off with the hoist having just enough headroom to lift it clear of the studs.
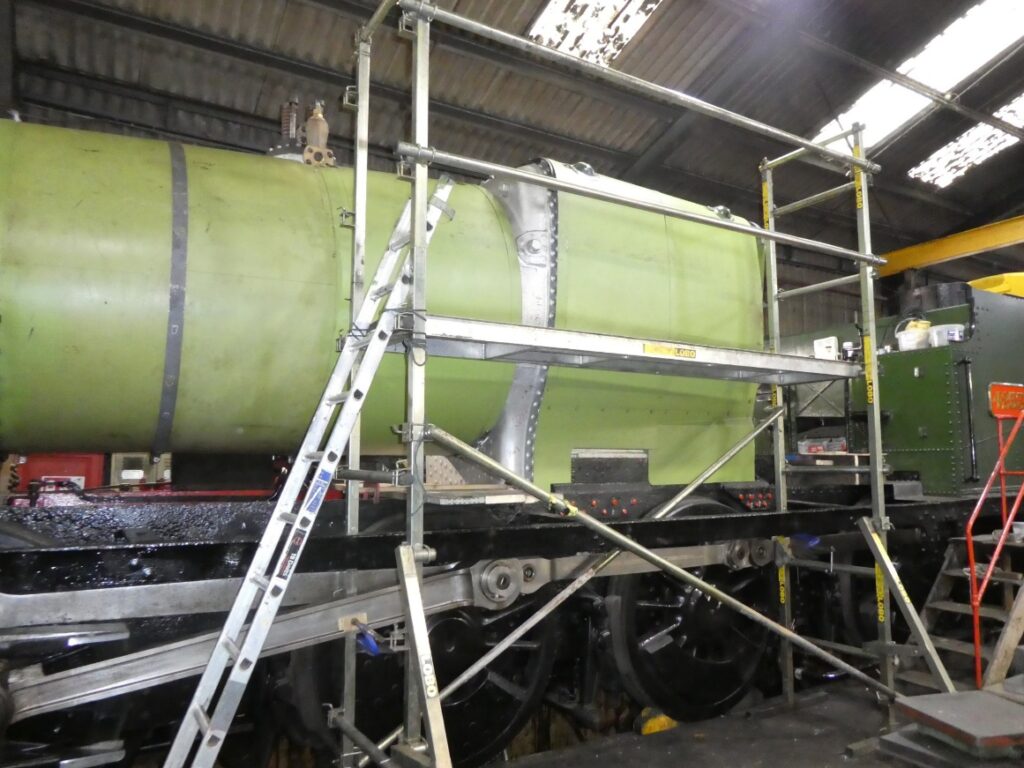
Once everything was stripped, a Lobo platform was erected around the firebox to provide safe working when trial fitting the elephants ears.
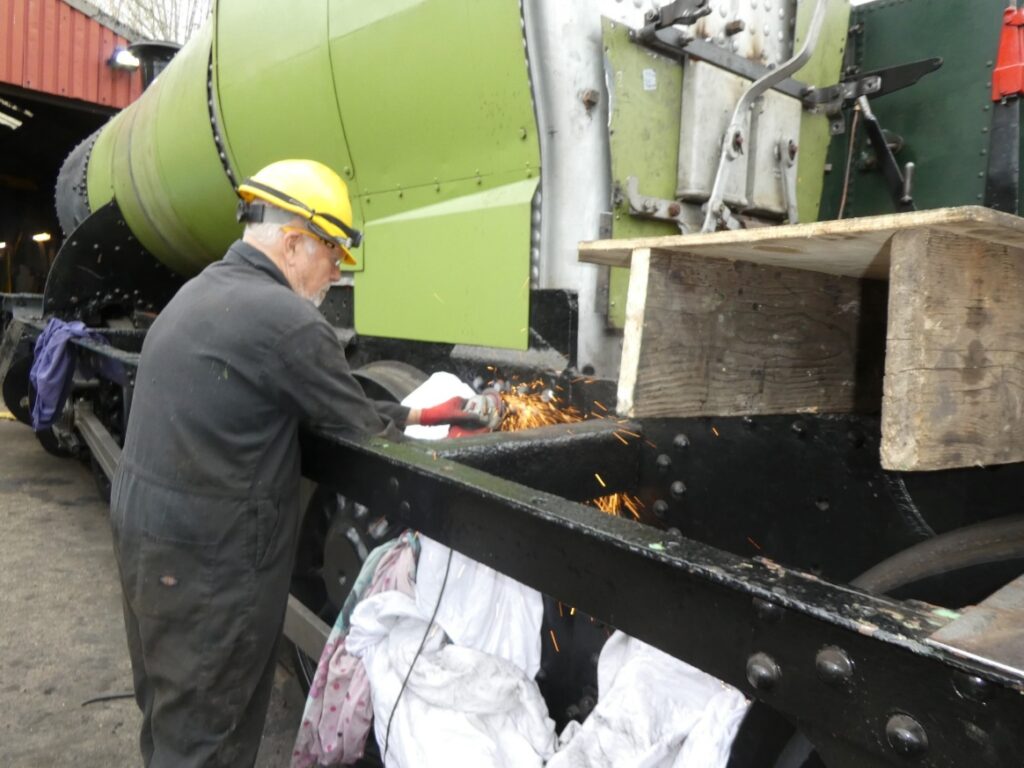
With the tanks off, we were able to grind back some of the expansion bracket rivets that had been just making contact with the rear of the fireman’s side tank.
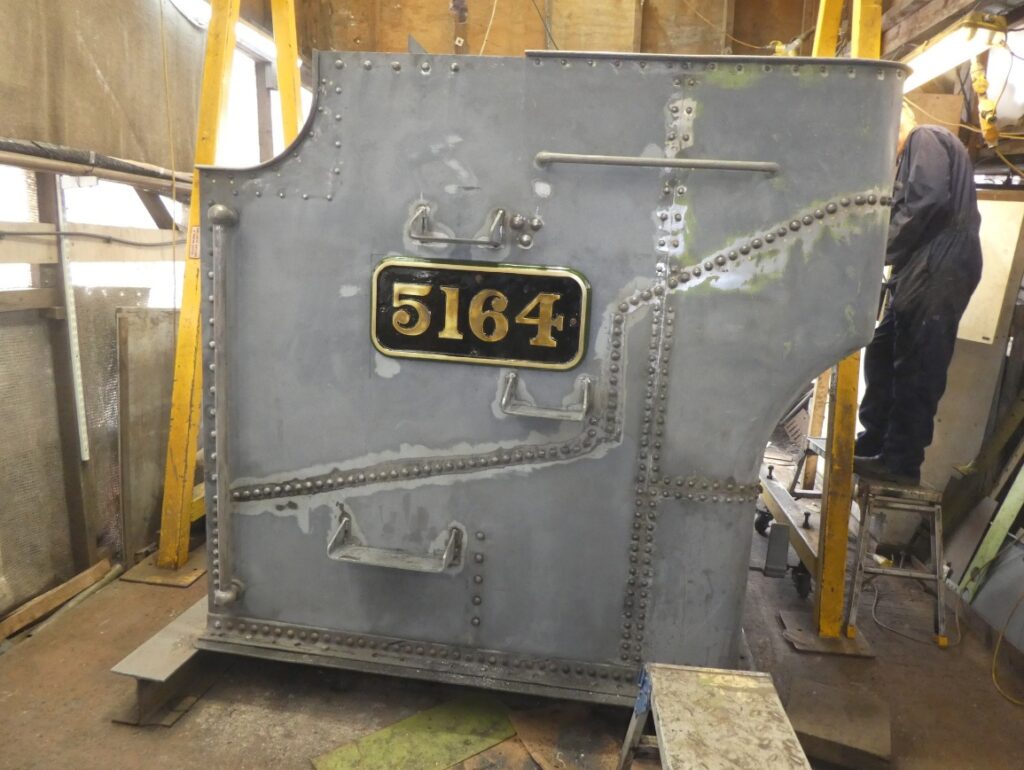
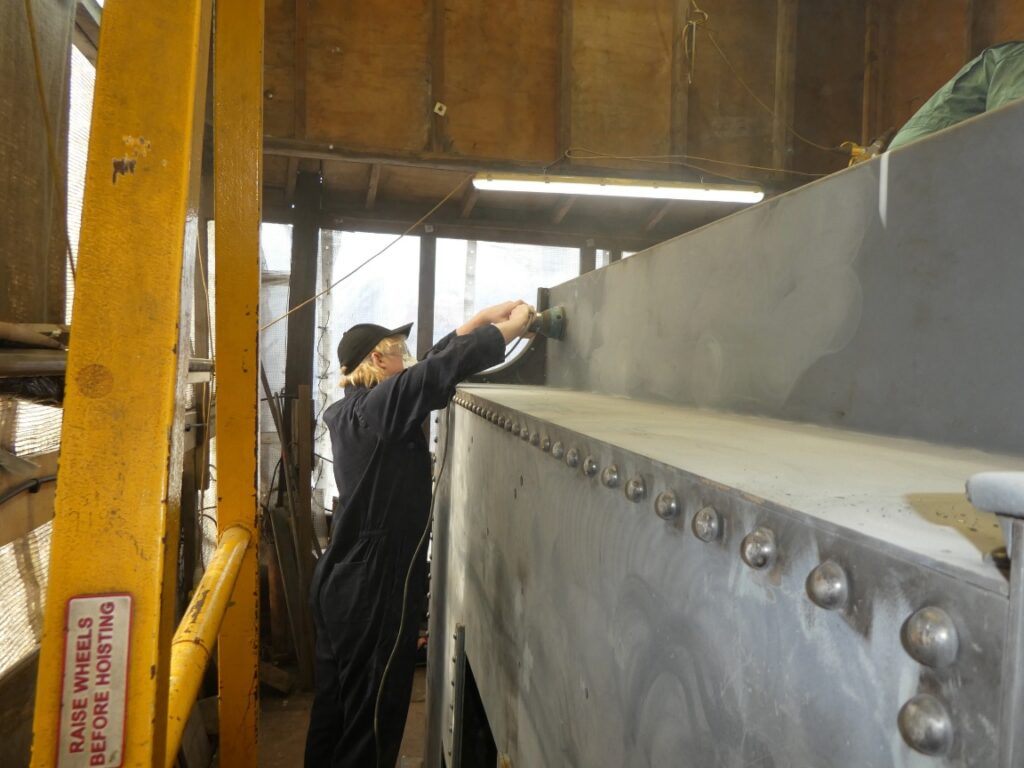
For 5164’s bunker, we set up an air extraction system and sprayed two coats of primer on the exterior which has transformed its appearance.

Week Four
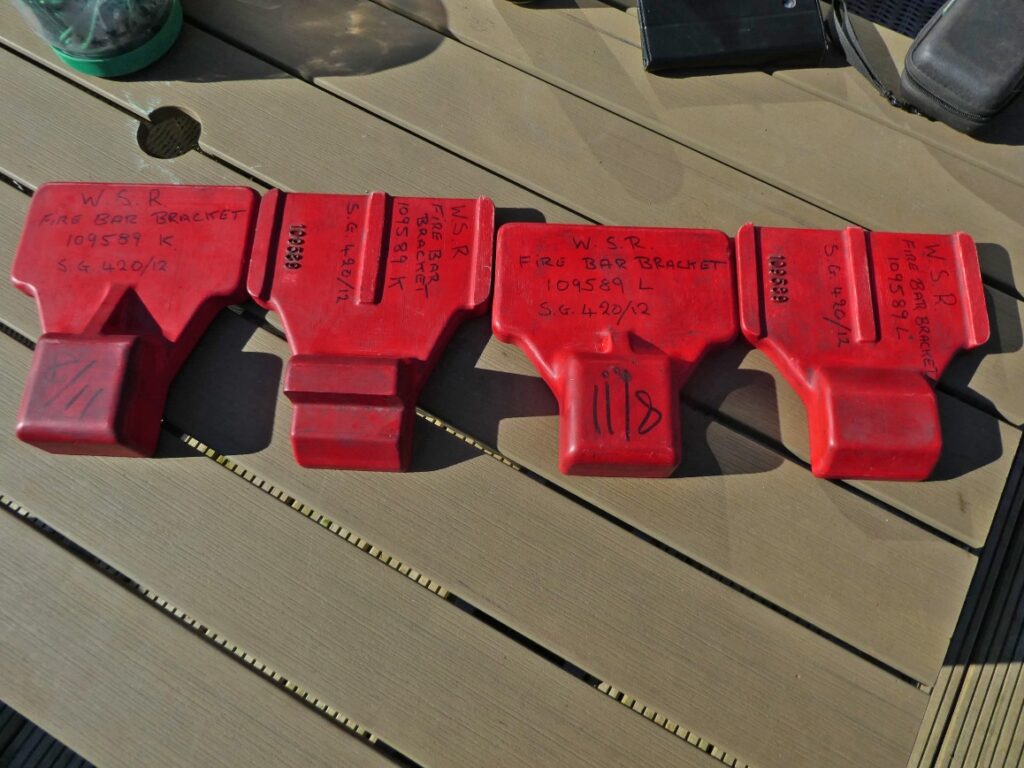
On Tuesday, the team on 4253 were finishing window frame fitting and backhead cladding pieces plus measuring up the foundation ring in preparation for the drop grate operating mechanism drawings and working out the fire bar requirements. We’ve decided the original fire bar carriers are past their best so have decided to have a new set cast and the WSR have kindly let us borrow their patterns which have now been passed to the foundry.
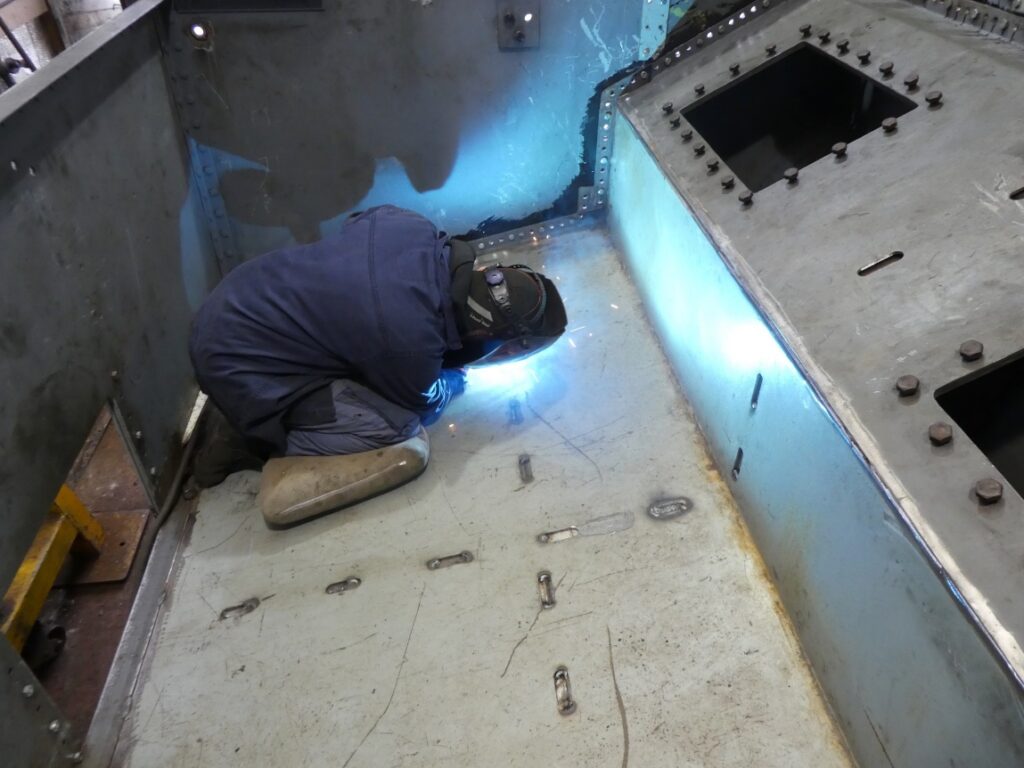
The 5164 bunker had the steps fully welded on
followed by welding the seam between the ducket and the rear panel.
After that it was back to riveting with the toolbox shelf being joined to the support brackets
followed by all the top beading being attached.
This work continued on Friday with the new rivets being cleaned of any scale, the welds dressed back and a start made on rubbing down the primer paintwork. Holes were also marked and drilled for the fireman’s side number plate which was then trial fitted.
On 4253, the strip down commenced now we know everything fits. The backhead cladding, much of the pipework, the windows and the water gauge have all been removed and stored. The delivery pipes to the clacks were also taken down.
The cab and tanks will shortly be taken off again so we can make a start on the elephants ears cladding for the front corners of the firebox.
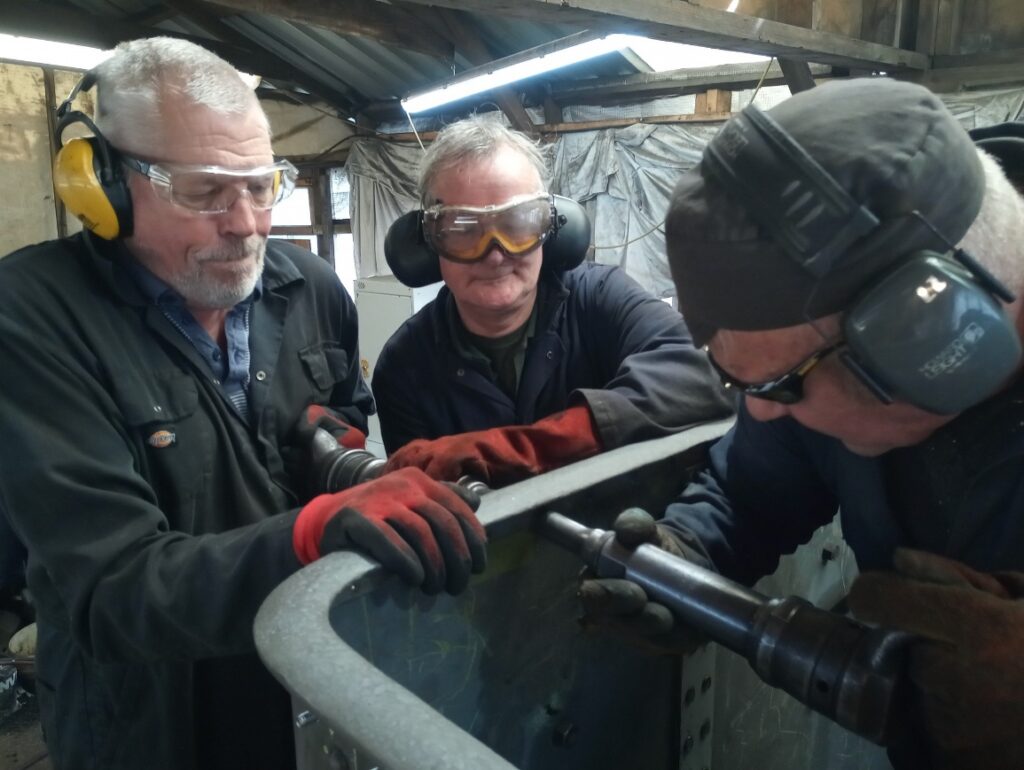
On Sunday, the tank holding bolts were removed and, because of the risk of damage, the oil lines to the intermediate axle boxes were also taken out.
The bunker work continued with a start made on fully welding the slots where the lower coal floor joins the baffles
and more of the paintwork was rubbed down.
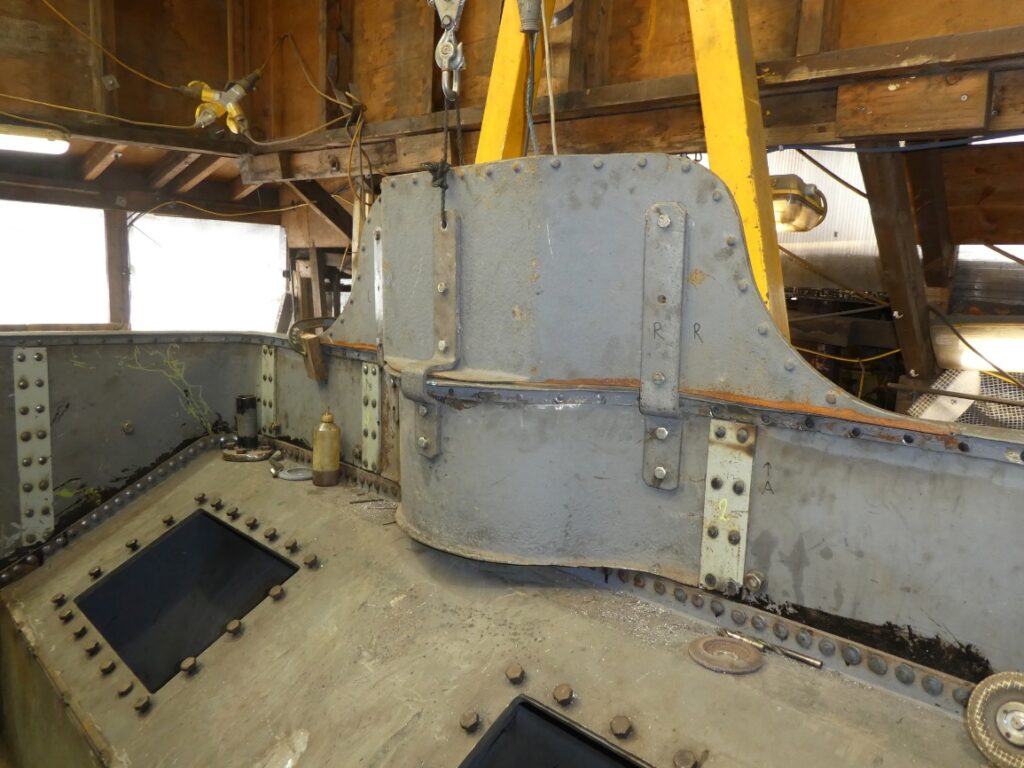
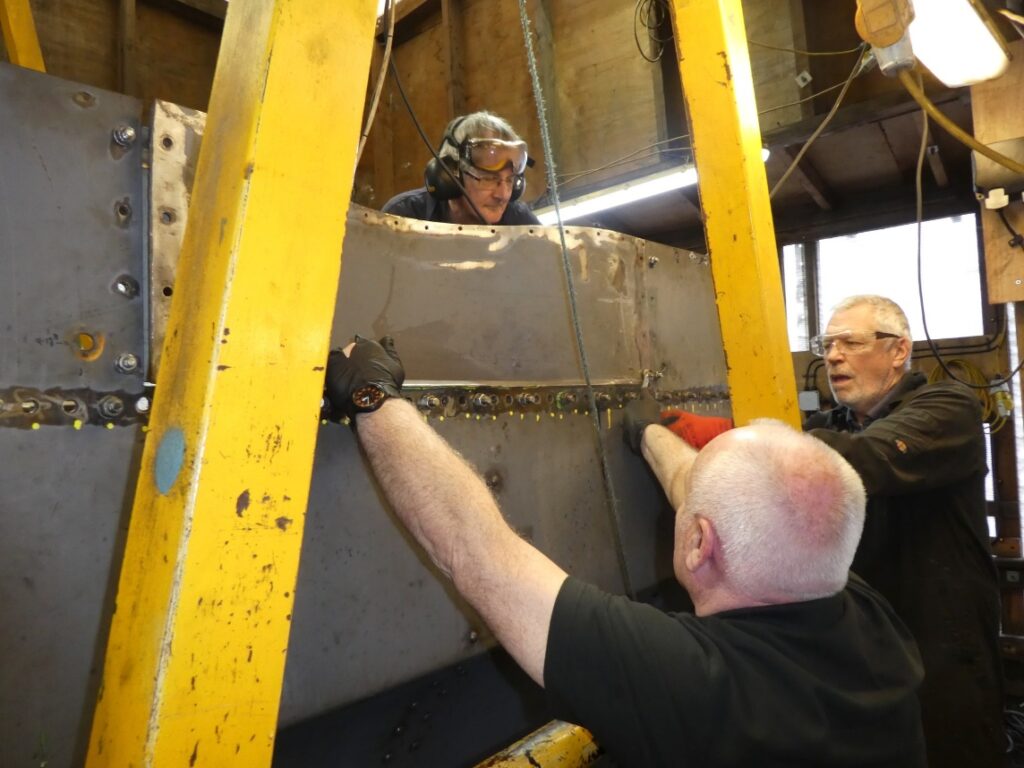
The upper rear ducket had the support brackets bolted on and was then hoisted into position for a trial fit. Once happy with the position the holes that will attach the brackets to the lower ducket were marked and then drilled through starting with a pilot drill.

This shot shows it fully bolted in place before being taken down again.
Week Three
On Tuesday, we continued with attaching the new hinges to the cab window frames and trial fitting,
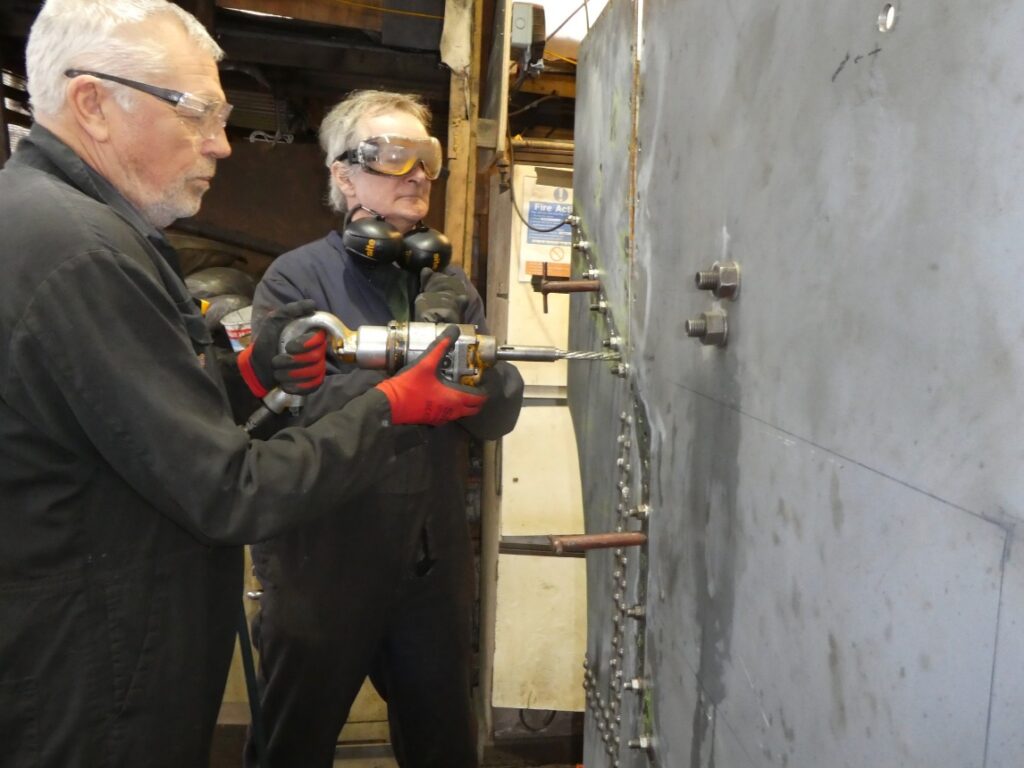
assembling the last of the washout cladding cones, removing more of the backhead pipework and finishing re-tapping all the ashpan stud holes in the bottom of the foundation ring. On the 5164 bunker, more holes were reamed through in preparation for riveting,
the coal floors were welded down onto the baffles
and the rear ducket was trial fitted,
followed by the beading for the rear and sides.
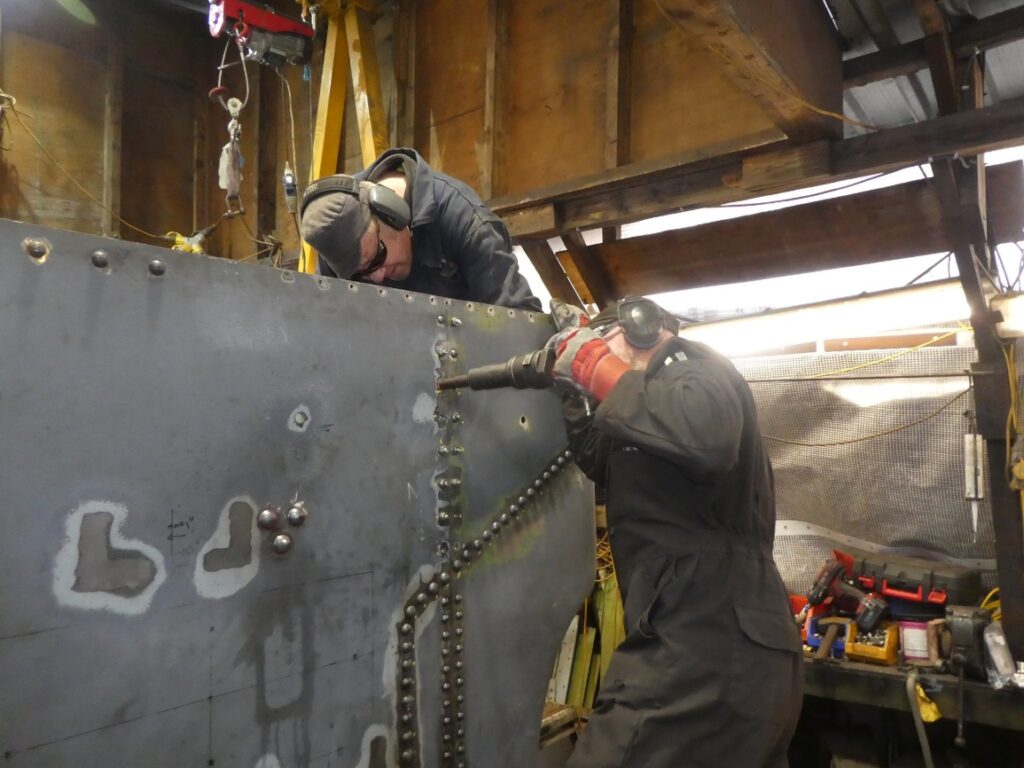
On Friday, we riveted in the upper coal floor,
tack welded the ducket into place and then riveted in the lifting eyes, the coal door runners and all the joining plates. Some 270 rivets in all.
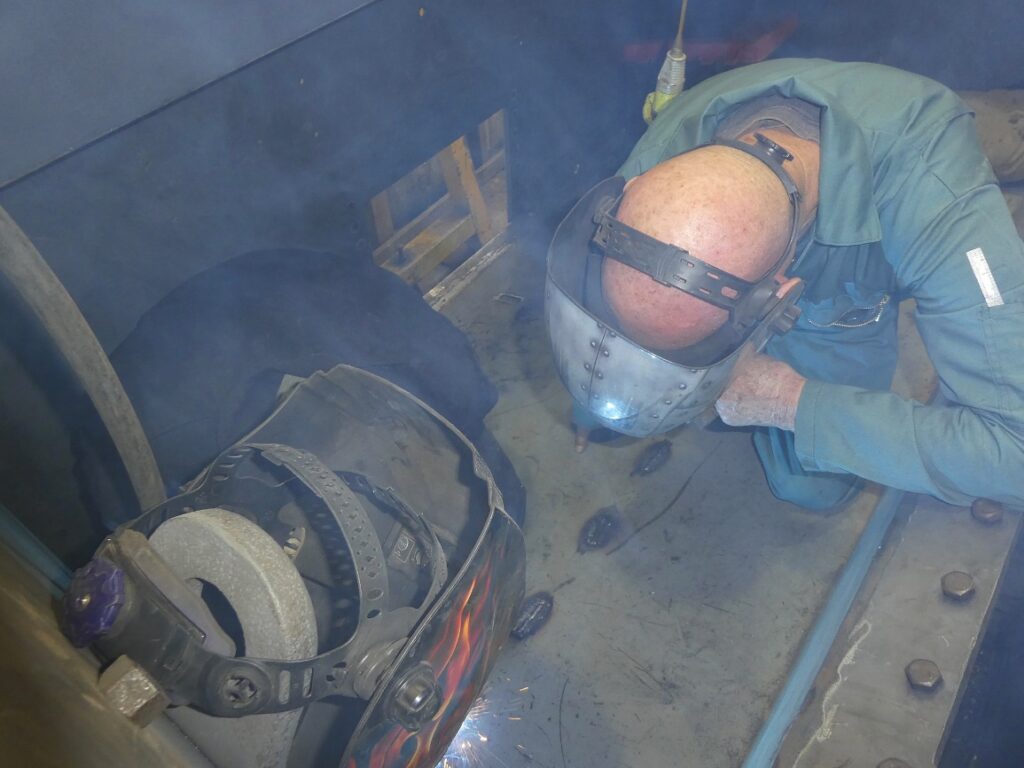
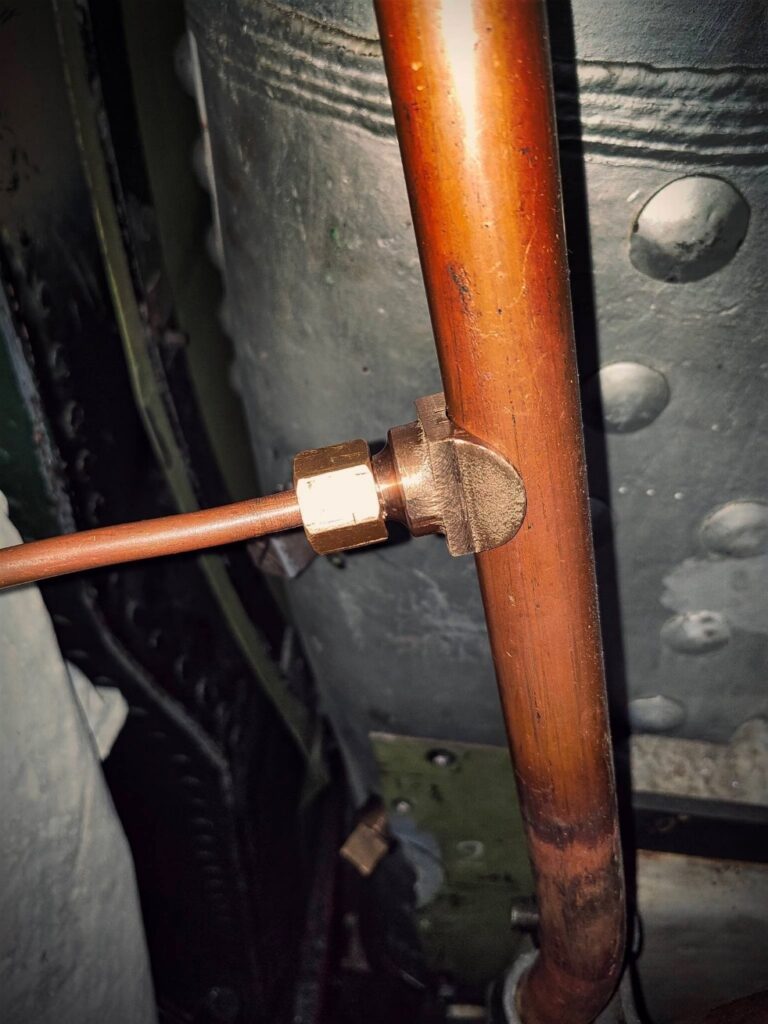
On Sunday, the saddle for the take-off to the gauge for 4253’s steam heat was silver soldered onto the main pipe.
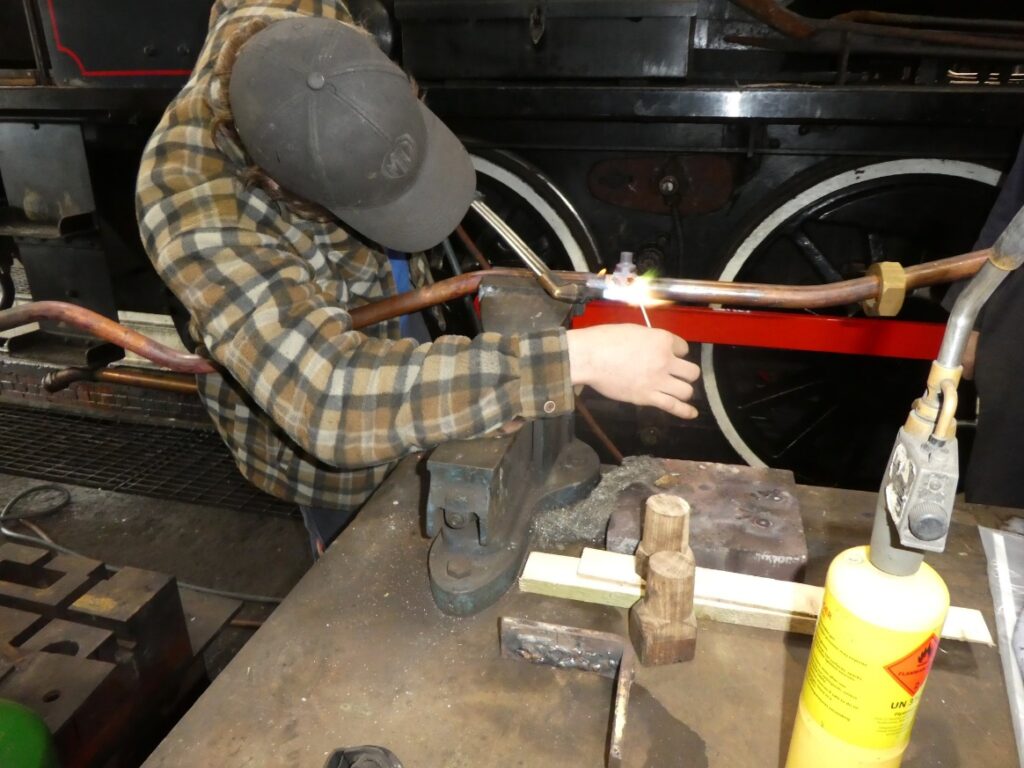
This item had to be cast and then machined with this shot showing from left to right, the pattern, a bare casting and the final, machined fitting.
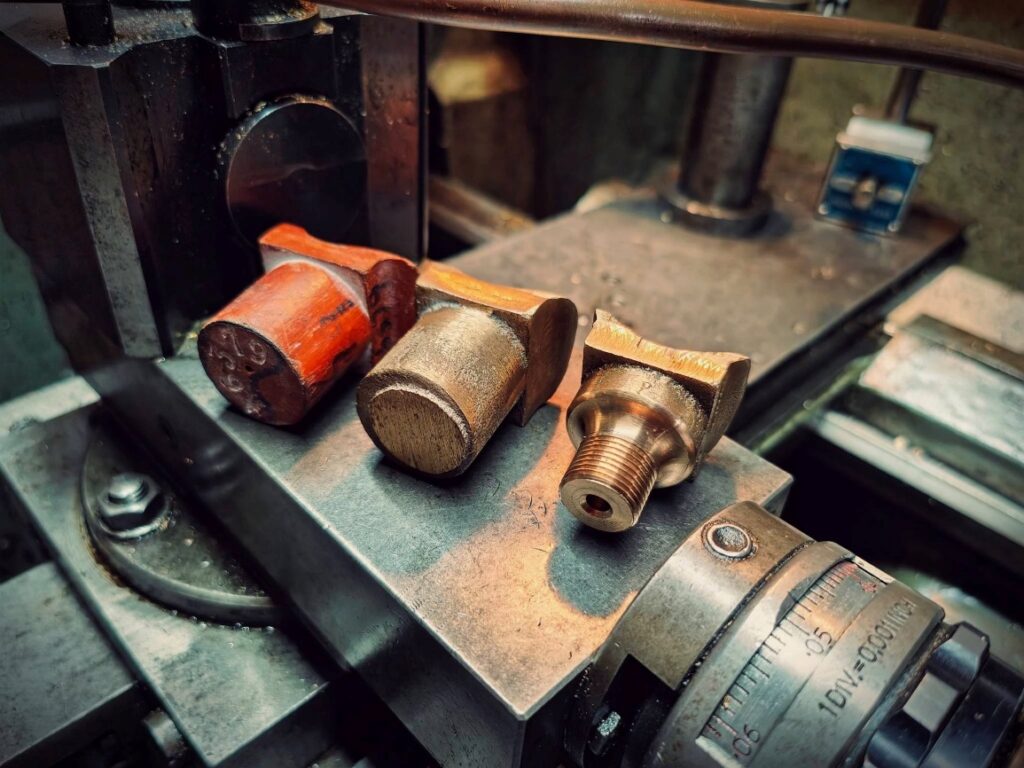
While this one shows the saddle trial fitted to the pipe before soldering.
The final pipe ends were also made and fitted and there was a great deal of measuring and discussion as to how the new drop grate was to be fitted and the materials we are going to need. On the bunker, the toolbox shelf was weld prepped where necessary, dropped into position and the holes reamed ready for riveting.
The rear beading was fully fitted and bolted ready for riveting, the remaining handrails were attached, the steps were tack welded into position
and the front curved beading section trial fitted and then removed again as the shelf will need to be riveted in prior to these being fitted. At the end of the day we had something that definitely was looking like a bunker.
Week Two
Work on the front cab window hinges of 4253 continued with the hinges drilled, countersunk and fitted to the frames

after which they were clamped to a section of angle to check that the window could swing freely.

The stud holes in the foundation ring for attaching the ashpan were cleaned out and measured so a set of studs can now be made

and, in preparation for fitting the drop grate, the fire bar carrier brackets were extracted from storage and moved into the shed.

A start was made on removing and labelling all the new pipework


plus removing some of the backhead fittings and cladding sheets so we can get at and remove the rear tank holding strap.

This is all in preparation for removing the tanks to allow us to start fitting the elephant’s ears to the front of the firebox cladding.
Work on the 5164 Bunker included offering up the lifting eyes to be bolted on prior to riveting but, to no-one’s surprise, only two of the three holes lined up so one hole on each side had to be welded up,

marked and redrilled.

The centre, rear lamp bracket holes that were welded up last week were dressed back, the bracket positioned in alignment with the two outer brackets, marked and then new holes drilled. All three brackets plus the remaining baffle were then all riveted into place.

The lower coal floor had the joining faces coated with sealant after which it was lowered into place, bolted up and the holes reamed through.

It was then tack welded along the front edge and down onto the baffle plates

followed by riveting up the fireman’s side. After that, the upper coal floor was lowered into place

and bolted up along the rear and side faces.

Week One
Work on 4253 this week started off with shifting the fireman’s side tank over a little

so we could engage more of the retaining bolts to get it in its final position and then drill the last hole in the tank’s fixing plate.

The retaining strap that holds the tanks together at the front was hauled up into position to check its fit now the cladding is all in place and this showed we needed to make a couple of spacing plates to raise it a little to prevent it rubbing.

More cladding in-fill pieces were made

and washout plug cones fabricated and added.

New, stronger hinges are being fitted to the cab windows which require some fettling to fit

and we also fitted the water gauge on the fireman’s side to make sure the window would open without fouling it.

The shaped panels that will fill the gaps between tanks and cladding were delivered, offered up to check the fit which was good and then given a coat of primer.

The final bits of the cab pipework were made

and trial fitted and it just remains to solder ends to some of them after which it can all be taken down, annealed and then cleaned up and polished.

On the 5164 bunker build, the rivets put in last week were cleaned up and given a coat of primer and the toolbox shelf was bought in and given the same treatment.

The baffles were checked for alignment, clamped to pieces of angle to ensure they stayed in place and were then tacked together and onto the floor angle.

The lower coal floor was then lifted and slid into place (easier said than achieved!)

to check the fit with the baffles, side panels and angle on the front panel all of which was satisfactory.

It can now come out again to have all the joining faces cleaned and painted before going back in for reaming and riveting.